The size of your garment plays a significant role in the dimensions of your artwork. We recommend measuring with a ruler to visualize how the dimensions will work on the garment. Sizes can vary by brand, so below are examples for you to try on your garments.
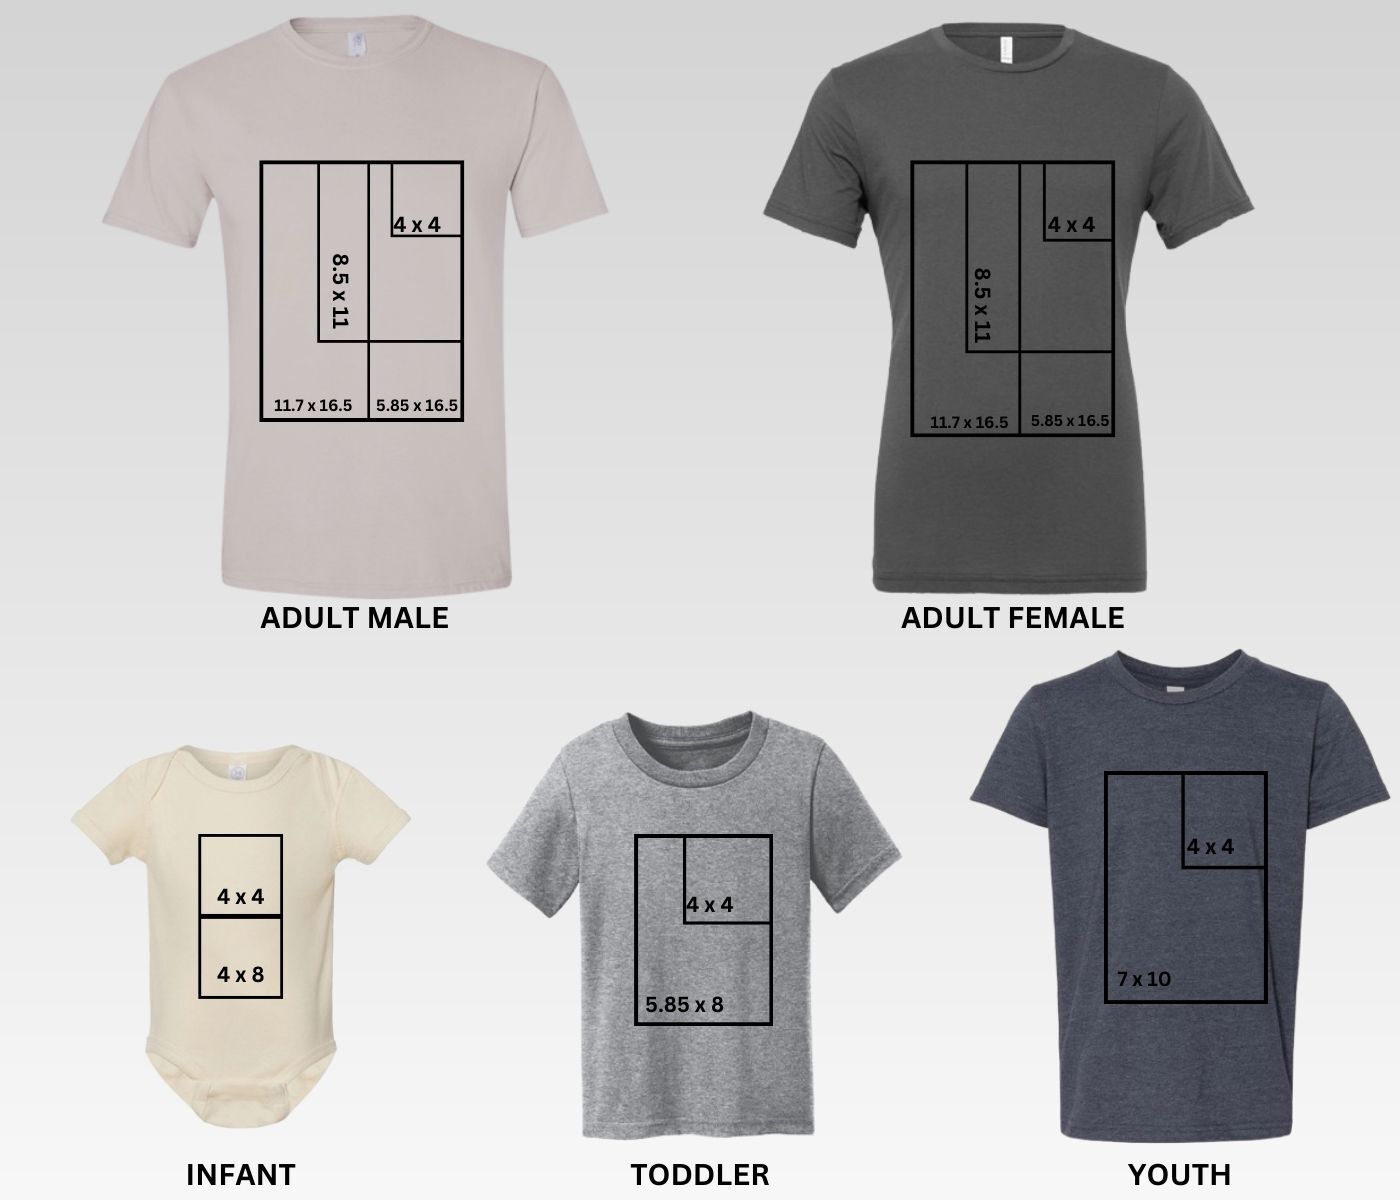
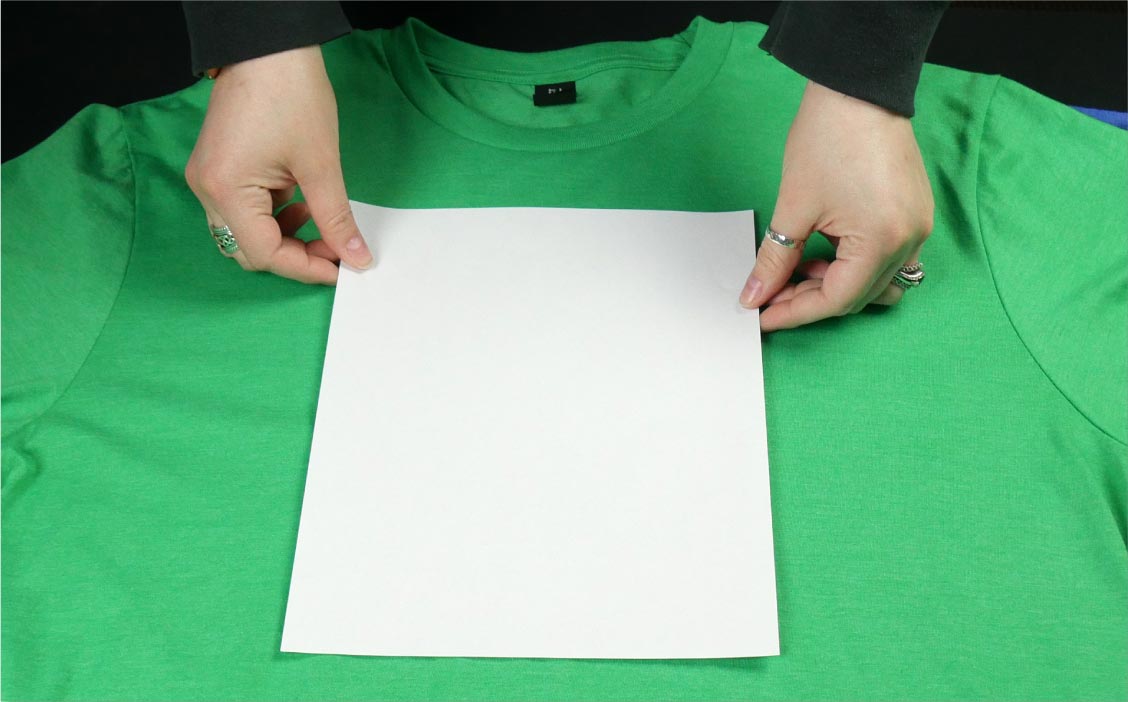
Lay a sheet of printer paper on the garment to visualize how an 8.5 x 11 size will look. For smaller designs, print off your design for better representation.
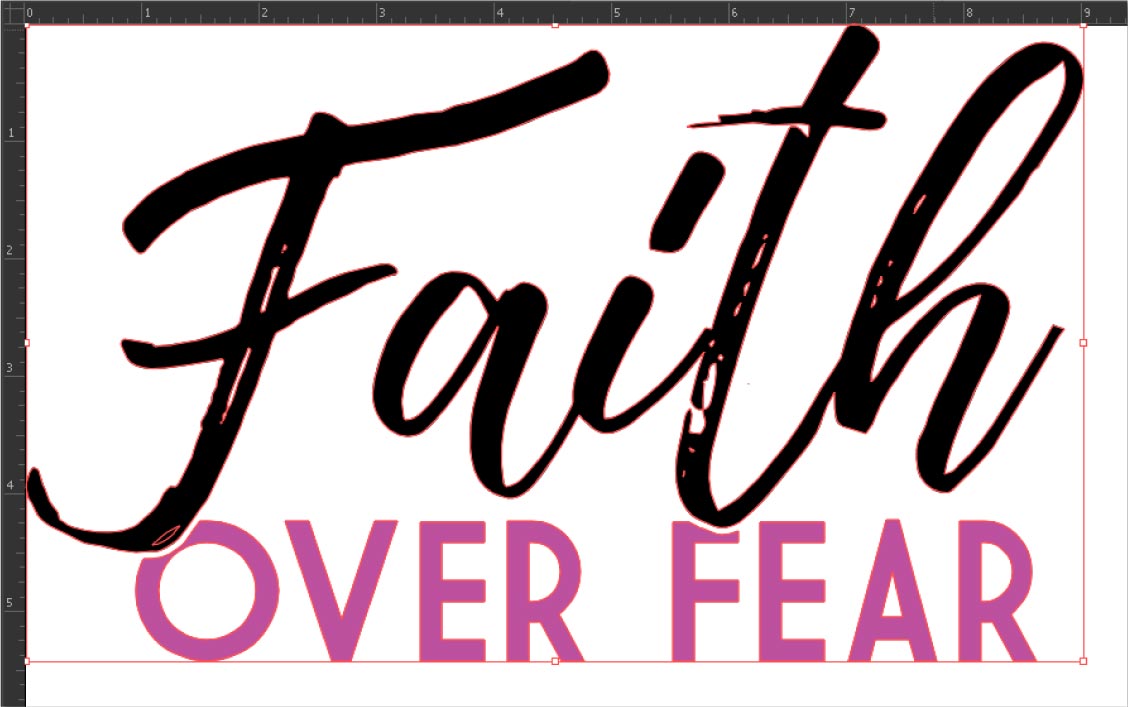
To maintain the scale of the design proportionally, take the largest width or height you can use on your garment and keep the opposing measurement linked in your software.
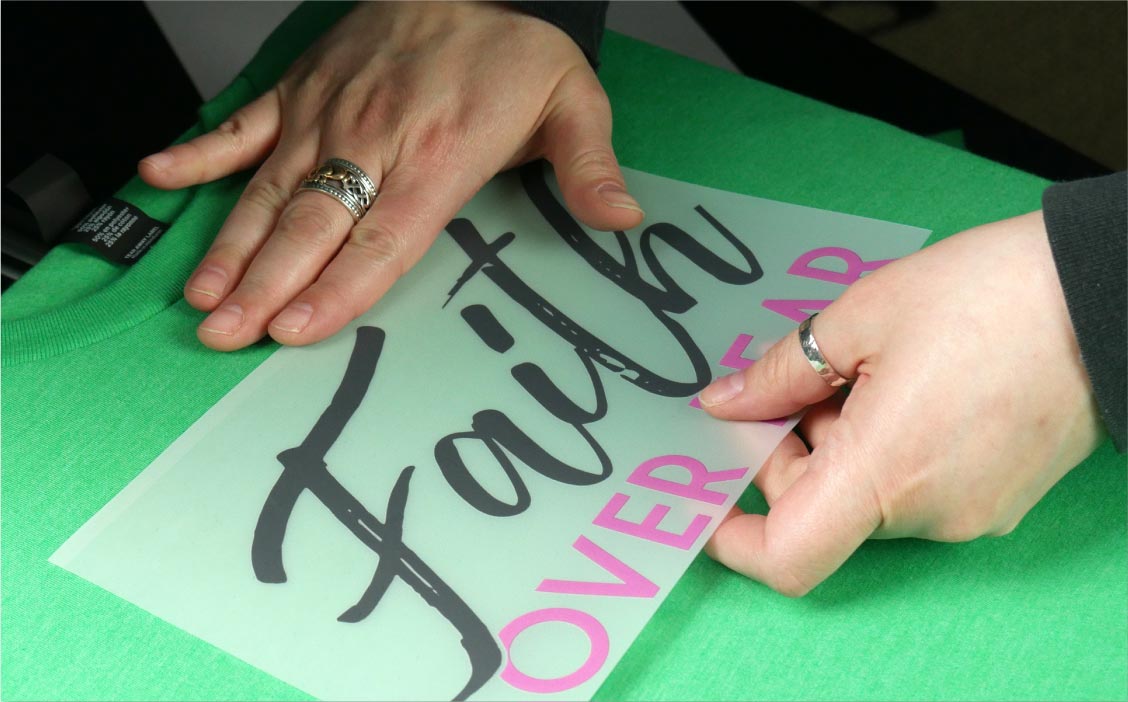
Try placing three fingers horizontally from the collar to help with spacing your design.
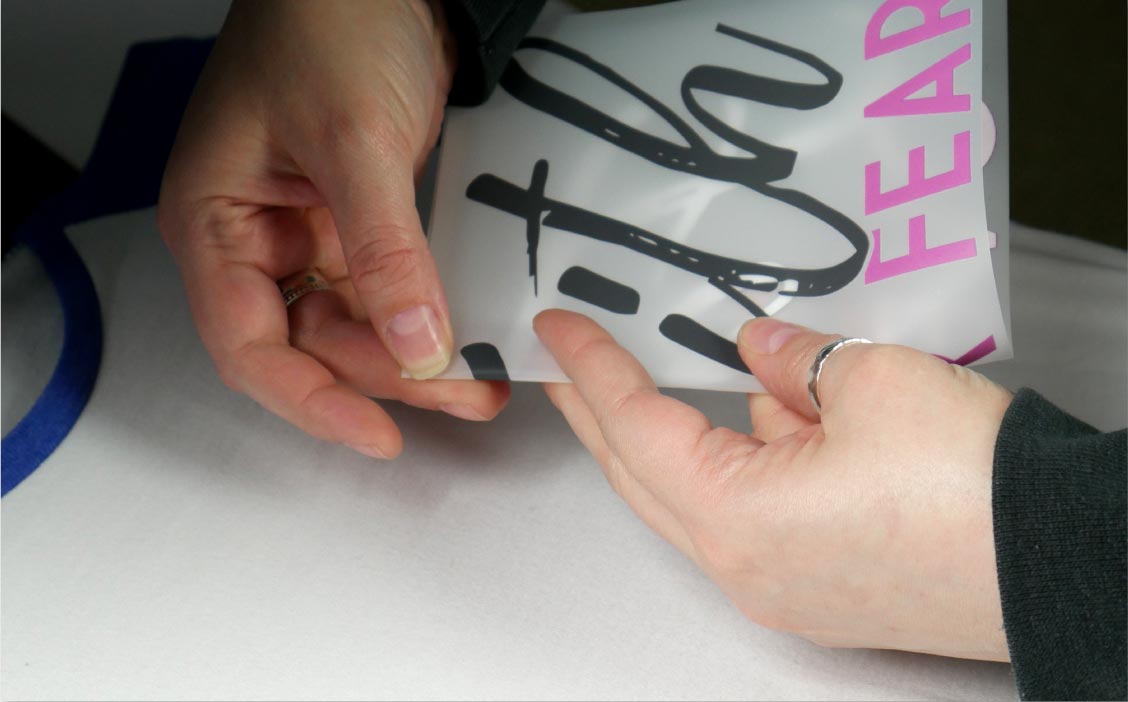
Before you press your transfer on the garment, lightly fold the transfer in half to gauge the middle.
Properly measuring your artwork is essential for achieving the best results when applying it to garments.
Here are some steps to guide you: