SHOP ALL
-
HTV
HTV
Siser EasyWeed EasyWeed EcoStretch EasyWeed Fluorescent's Siser Easy Reflective Siser Easy Puff Siser Pattern HTV Siser Brick 600 Siser EasyPatterns PlusChemica Hotmark Revolution Low Temp Chemica Fashions Galaxy Stretchable Glitter Quickflex Revolution ThermoBannerGlitter Siser Glitter GlitterFlex Ultra Politape Glitter DecoSPARKLE Holographic Siser Twinkle Siser Sparkle Siser HolographicMetallic Siser EasyWeed Electric Siser Metal DecoFilm Soft Metallic DecoFilm Soft Metallic Patterns ThermoFlex Metallic Foils and AdhesivesPuff Siser Easy Puff Siser Easy Puff Metallic WALAKut Puff WALAKut Metallic Puff WALAKut Glow Puff WALAKut Puff NeonsReflective HTV 3M Scotchlite Reflective Vinyl Siser EasyReflective HTV Specialty Materials Reflective
-
DTF
DTF
-
Embroidery
Embroidery
-
Custom Apparel & Items
Custom Apparel & Items
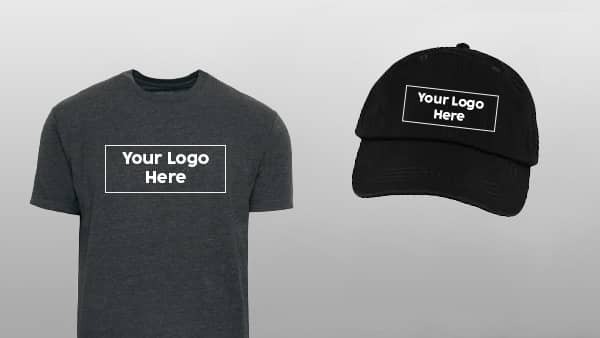
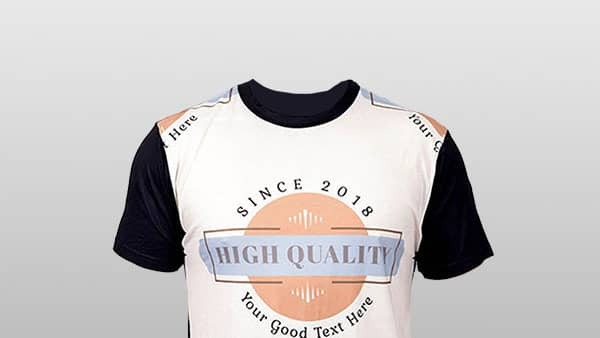
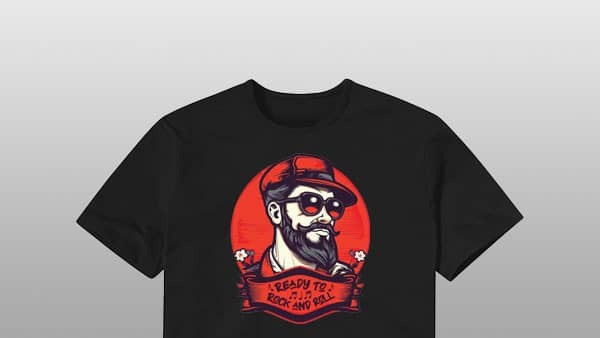 Custom Printed Apparel
Order custom printed shirts, sweatshirts, & more.
 Custom DTF Apparel
Custom DTF printed apparel done-for-you.
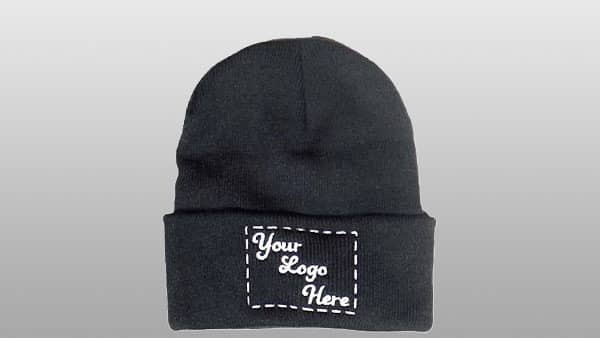 Embroidered Apparel
Order custom embroidered shirts, hats, backpacks, & more.
 Full Service Customization
Outsource your ongoing custom apparel production by partnering with Heat Transfer Warehouse.
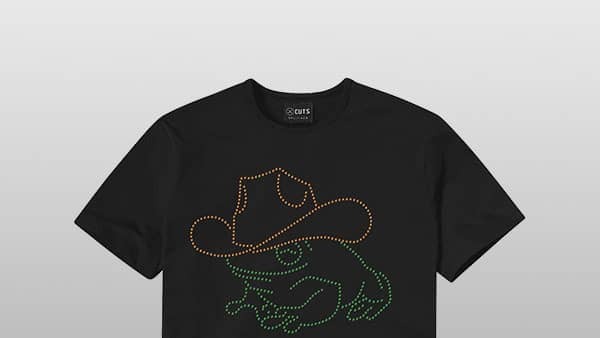 Rhinestone Apparel
Order custom rhinestone apparel with your designs, including shirts, hats, & more.
 Sublimated Apparel
Custom sublimated apparel including hats, shirts, pants, socks, & more.
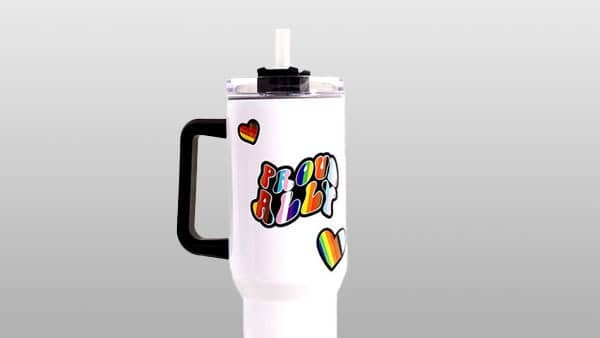 Custom Drinkware/Photo Panels
Tumblers, Blanks, Photo Panels & more.
 Siser Sanmar Decoration
Outsource your custom apparel with Sanmar apparel decorated with Siser material- decorated by Heat Transfer Warehouse.
 Seasonal Items
Explore our latest seasonal products and special offers.
-
Custom Transfers
Custom Transfers
 DTF Transfers
Full Color DTF Transfers
DTF Gang Sheets
One Color DTF Transfers
Ready to Press Transfers
DTF Names & Numbers
DTF Transfers
Full Color DTF Transfers
DTF Gang Sheets
One Color DTF Transfers
Ready to Press Transfers
DTF Names & Numbers
 Supacolor Transfers
Wearables
Blockers
Soft Shell Blockers
Headwear
Promotional
Metallic
Sample Packs
Supacolor Transfers
Wearables
Blockers
Soft Shell Blockers
Headwear
Promotional
Metallic
Sample Packs
 Sublimation Transfers
Custom Sublimation Transfers
Ready to Press Transfers
Sublimation Names & Numbers
Pattern Sheets
Custom Pattern Sheets
Sublimation Transfers
Custom Sublimation Transfers
Ready to Press Transfers
Sublimation Names & Numbers
Pattern Sheets
Custom Pattern Sheets
 Rhinestone Transfers
Custom Rhinestone Transfers
Stock Rhinestones Transfers
Rhinestone Names & Numbers
Rhinestone Bundles
Rhinestone Transfers
Custom Rhinestone Transfers
Stock Rhinestones Transfers
Rhinestone Names & Numbers
Rhinestone Bundles
- Clothing / Blanks Clothing / Blanks
- Equipment Equipment
-
Sublimation
Sublimation
-
Rhinestones
Rhinestones
-
Printables
Printables
-
Adhesive Vinyl
Adhesive Vinyl
-
Accessories
Accessories
- Digital Files Digital Files
- New
- Rewards
- Gift Certificates
- Deals
- Blogs
- Videos
 HTV Transfers
 Custom Patches
 Custom Stickers
 Artwork & Services
Custom Apparel & Items
Custom Printed Apparel
Custom DTF Apparel
Embroidered Apparel
Full Service Customization
Rhinestone Apparel
Sublimated Apparel
Custom Drinkware/Photo Panels
Siser Sanmar Decoration
Seasonal Items
Custom Printed Apparel
Order custom printed shirts, sweatshirts, & more.
Custom DTF Apparel
Custom DTF printed apparel done-for-you.
Embroidered Apparel
Order custom embroidered shirts, hats, backpacks, & more.
Full Service Customization
Outsource your ongoing custom apparel production by partnering with Heat Transfer Warehouse.
Rhinestone Apparel
Order custom rhinestone apparel with your designs, including shirts, hats, & more.
Sublimated Apparel
Custom sublimated apparel including hats, shirts, pants, socks, & more.
Custom Drinkware/Photo Panels
Tumblers, Blanks, Photo Panels & more.
Siser Sanmar Decoration
Outsource your custom apparel with Sanmar apparel decorated with Siser material- decorated by Heat Transfer Warehouse.
Seasonal Items
Explore our latest seasonal products and special offers.
Custom Transfers
DTF Transfers
Full Color DTF Transfers
DTF Gang Sheets
One Color DTF Transfers
Ready to Press Transfers
DTF Names & Numbers
Supacolor Transfers
Wearables
Blockers
Soft Shell Blockers
Headwear
Promotional
Metallic
Sample Packs
Sublimation Transfers
Custom Sublimation Transfers
Ready to Press Transfers
Sublimation Names & Numbers
Pattern Sheets
Custom Pattern Sheets
Rhinestone Transfers
Custom Rhinestone Transfers
Stock Rhinestones Transfers
Rhinestone Names & Numbers
Rhinestone Bundles
DTF Transfers
Full Color DTF Transfers
DTF Gang Sheets
One Color DTF Transfers
Ready to Press Transfers
DTF Names & Numbers
Supacolor Transfers
Wearables
Blockers
Soft Shell Blockers
Headwear
Promotional
Metallic
Sample Packs
Sublimation Transfers
Custom Sublimation Transfers
Ready to Press Transfers
Sublimation Names & Numbers
Pattern Sheets
Custom Pattern Sheets