DIY Photo Backdrop
If you are a small business owner, influencer, or photographer, this DIY photo backdrop will be perfect for taking pictures! These backdrops are gorgeous, mobile, and easy to make. In this blog, we will give you step by step instructions to make your own photography backdrop using inexpensive products.

Supplies Needed:

- Scissors
- Weeding tools
- Squeegee
- Plastic holders (could substitute 3D printed, wood, etc)
- Hardboard (could substitute cardboard or wood)
- Sign Vinyl
Steps:
1. Start with your blank hardboard piece flat on the table.

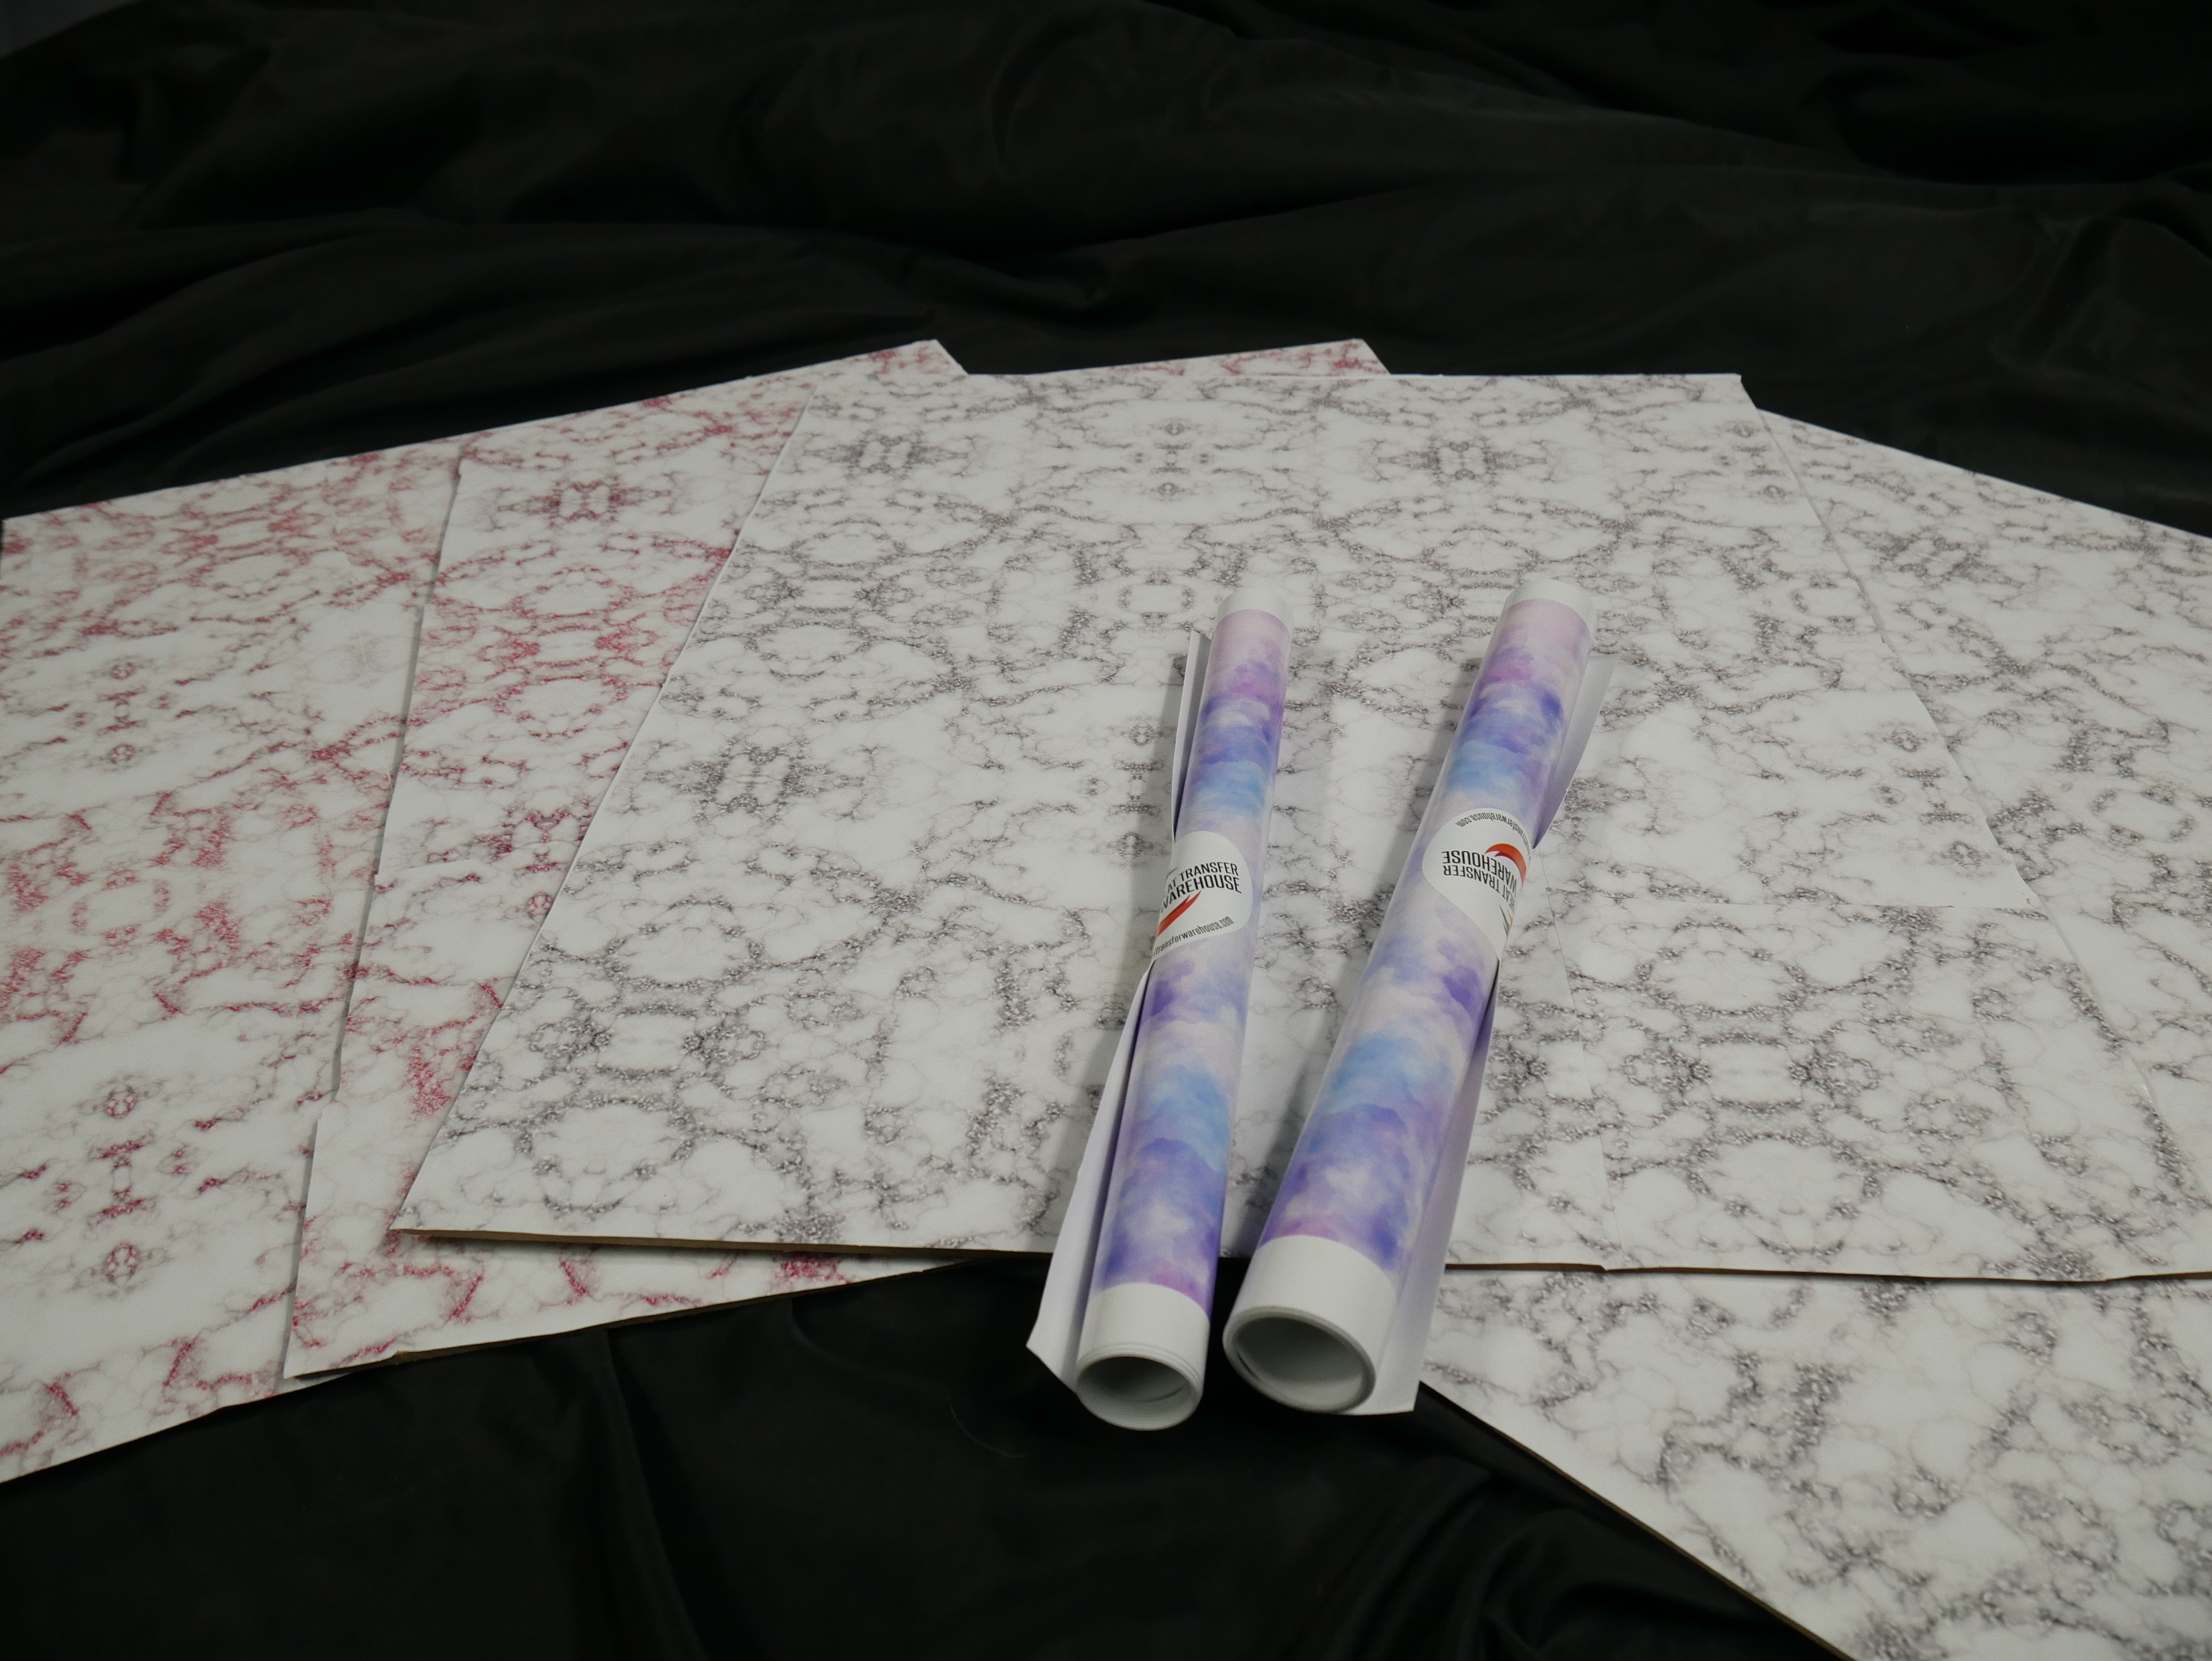
2. Next, trim any excess material from your sign vinyl. For this project, we used our Rose Gold Glitter Marble PSV that prints with a white border around it, so we trimmed the edges off.

3. Then, use your weeding tool to peel back a corner of your adhesive vinyl.

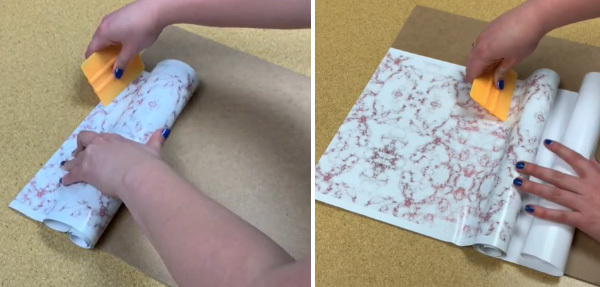
4. After that, line up your vinyl to the top and side edges of your hardboard like so. Once you are sure it is straight to the edge, stick the vinyl down to the surface.

5. Next, use your squeegee to stick the vinyl to the surface. Continue this process until you have the entire length of the hardboard piece covered by your vinyl!

6. Don’t worry if your vinyl doesn’t quite cover the width of the hardboard. You can always cut some more vinyl to cover that gap.

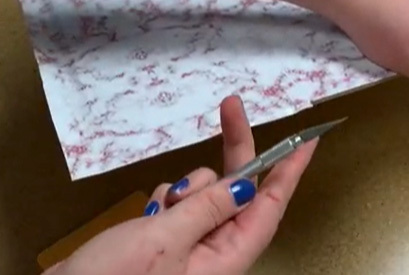
7. If you have any excess vinyl hanging over the edge of the piece of hardboard, use a razor blade or scissors to cut the extra off.

8. Repeat these steps on your second piece of hardboard so you end up with two pieces covered in your sign vinyl.

9. Trim all the edges so you have no excess vinyl hanging off the edge of your hardboard. Then you will add the board holders to your new backdrops.

10. Place the side edge of your hardboard into the opening of the holders. Do those for the two bottom edges like this:

11. Next, you will add the other board to fit nicely into the other slots of the holders!

12. Nicely adjust the holders and boards so there are no gaps and they fit together snugly. Then voila! You have just made your own photo backdrop. You are good to start taking product pictures with an eye-catching design as your background.

You can also decorate the other sides of the boards if you want to mix up the backdrop!


