
How to Create a DTF Gang Sheet
If you're in the world of custom apparel or promotional products, you’ve likely heard of gang sheets. The powerful tool of ganging allows you to maximize space, efficiency, and cost-effectiveness when producing transfers. But how exactly do you create a gang sheet that is optimized for your needs? Let’s break it down.
What Is a Gang Sheet?
A gang sheet is a transfer sheet that contains multiple designs, logos, or images arranged strategically to fit as much artwork as possible on a single sheet. Instead of printing each design separately, you can group them on one sheet, which can then be cut into individual pieces after printing. This approach is not only efficient but also cost-effective, especially when you have several small designs.

Benefits of Using DTF Gang Sheets
- Cost Efficiency
- Time-Saving
- Versatility
- Eco-Friendly
By placing multiple designs on one gang sheet, you reduce the number of individual transfer sheets you need to print. This can lead to significant savings, particularly on larger orders.
With gang sheets, you can print multiple designs in one go, cutting down production time. This is particularly beneficial for businesses handling large or frequent orders.
Gang sheets are incredibly versatile. Whether you’re working with logos, text, or intricate designs, you can fit a variety of images on a single sheet, making it perfect for those who need different sizes or designs in one order.
DTF gang sheets minimize material waste by fully utilizing each transfer sheet and reducing excess scraps. They are a sustainable choice for businesses and crafters alike.
How Big Can a DTF Gang Sheet Be?
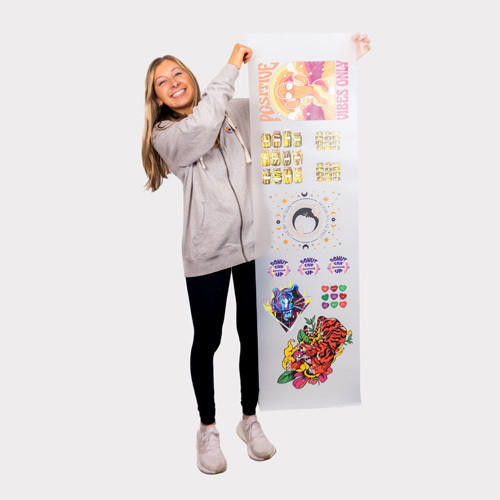
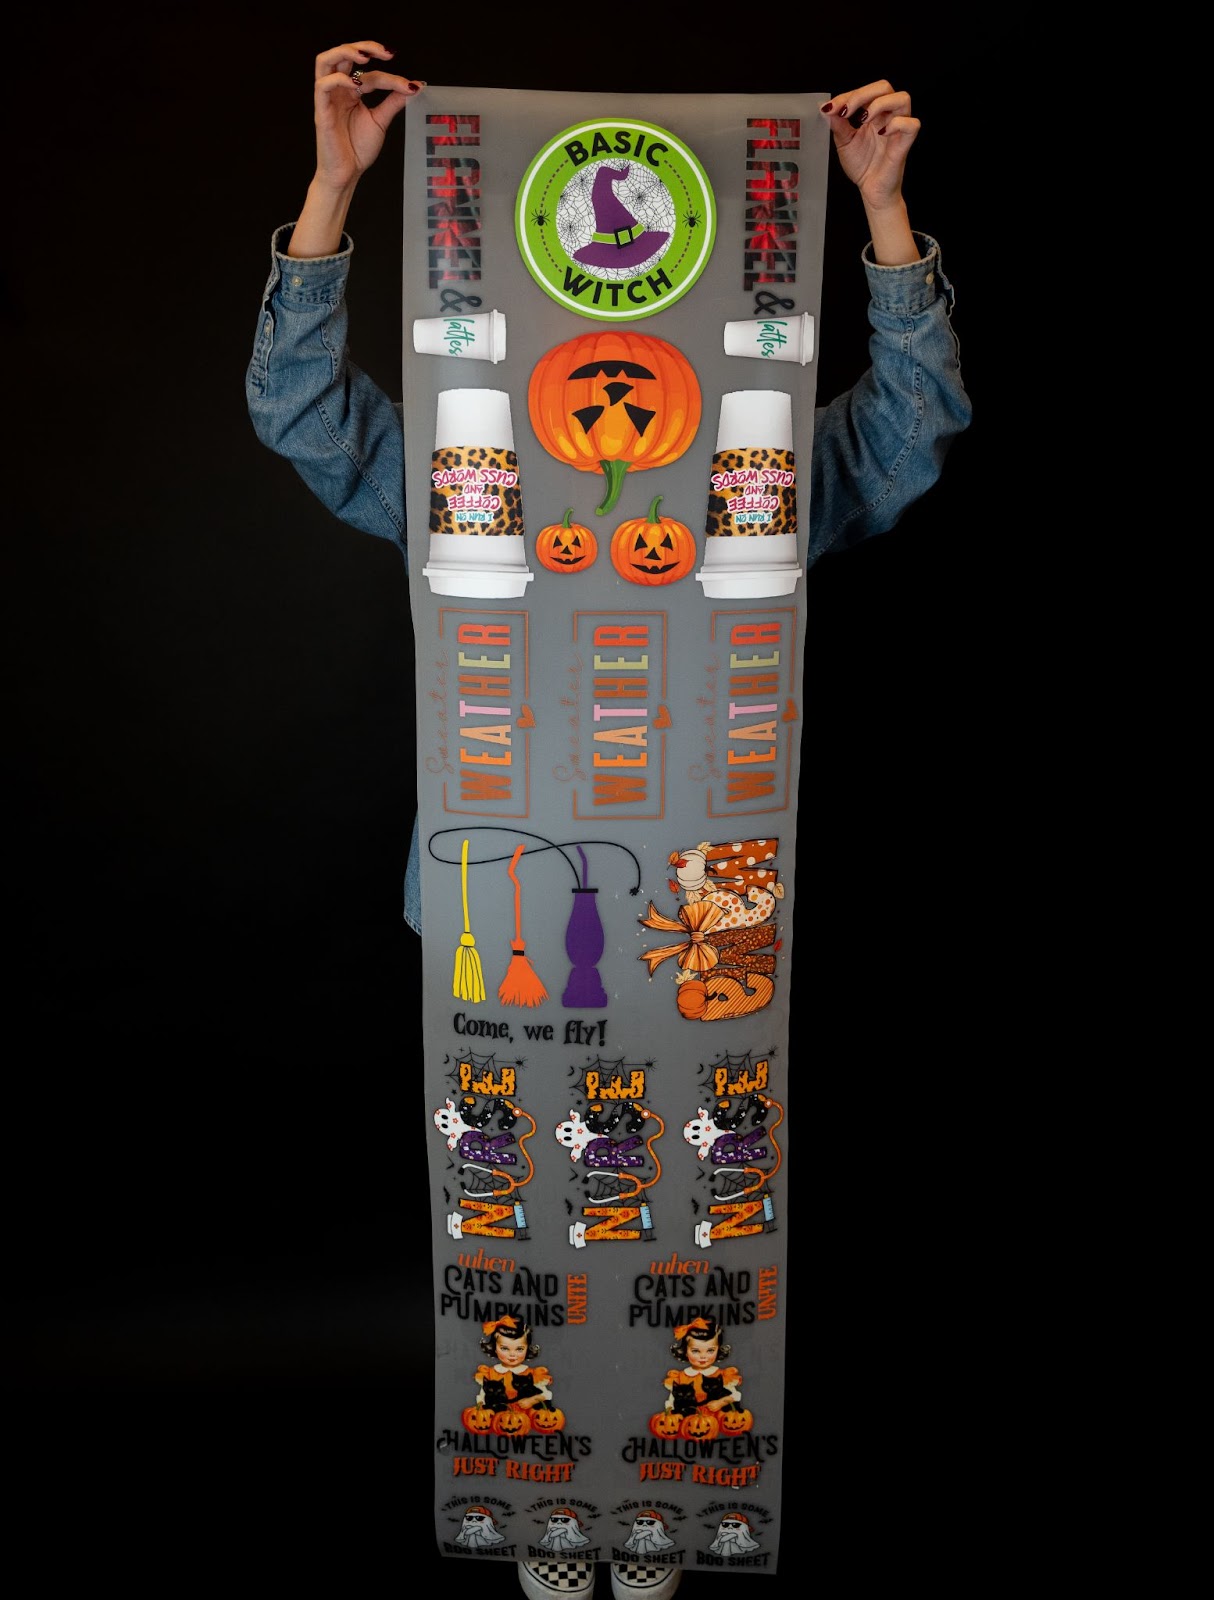
Our DTF Gang Sheets come in a variety of sizes, available as 17” wide and in lengths ranging from 2ft to 16ft long, giving you plenty of space to fit all your designs on a single sheet!
Check out our DTF Gang Sheet Product to view sizing options and pricing.
Steps to Create a Gang Sheet
1. Setting Up Your Gang Sheet
It might be tricky to instantly know how large of a gang sheet will end up suiting your needs, so we recommend starting with a new gang sheet file that has a width of 17” and a height of 24” (our smallest gang sheet option). If you find yourself needing additional space for more designs, you can add 12” increments to the height of your gang sheet. The width will remain capped at 17” for every one of our gang sheet options, but the height can go up to 192” or 16 feet if needed!
Also, be sure that you set your gang sheet file up in CMYK color mode as opposed to RGB. Anything that is intended to print will use a mix of cyan, magenta, yellow, and black inks, so keeping everything in CMYK will give you a better idea of how the end results will turn out (RGB files are strictly for anything that is used for screen, not print).
2. Preparing Your Artwork
Before the actual process of arranging and laying out your designs, it might be best to ensure that every individual design is prepared beforehand to make that upcoming step go more smoothly. A few considerations for each design that you intend to have printed include:
- Crop Your Designs to Maximize Space
- Remove Unintended Backgrounds
- Prepare High-Quality Files to Improve Print Quality
- Convert Fonts into Vector Shapes to Avoid Font Issues
This is to ensure that the margins of a design match its actual dimensions and no transparent space around the edges is included. This is not only useful for eliminating excess space from your designs that will waste precious gang sheet material, but it also helps ensure that you know the actual dimensions of a design (transparent space around the edge of a design can be misleading in interpreting the actual dimensions of the design itself).
A common issue that can come up during printing is if designs are supplied with a background color. Even if this background color is cropped to the edges of the design, the results of having large amounts of a backing color print are not always ideal. White backgrounds in particular can be tricky since if the program are using has a white background, you might not be able to even notice it in the first place! The process of removing a background color can vary from program to program (as well as the format of your design which is detailed in the next step), but doing so might lead to remnant spots in your design that might need to be touched up as well (especially around the edges of your design).
There are two main formats that a design can be saved as: vector or raster. Vector files such as PDF, SVG, EPS, or AI are ideal since they can be resized without a change in how they will print. On the other hand, raster files such as PNG, TIFF, PDF, PSD, or JPG (the latter we don’t recommend since they will always include a white background by default) have their quality determined by their resolution. Vector designs tend to be a bit simpler in concept—think of designs that are cartoons, logos, or overall composed of more solid colors and shapes. Raster designs allow for a lot more detail since they are composed of thousands of individual pixels—things like highly detailed images or photos are common examples.
As mentioned, a vector file can be changed to any size with no difference in its print quality, but for raster files you want to attempt to keep the resolution at around 300 DPI or PPI (these are interchangeable terms referring to either dots per inch or pixels per inch). Downscaling the size of a raster image will not harm its resolution, but you will start to lose resolution if you drastically upscale its size (this essentially stretches the pixels to accommodate more space). The lower a raster design’s resolution, the more it will come across as pixelated and/or blurry.
If your designs are in vector format and include custom text or fonts, try to ensure that they are all either expanded or converted to outlines (both methods will achieve the same goal of converting the fonts into normal vector shapes). By doing this, whoever is on the receiving side of your artwork will not need to have the fonts installed in order to be displayed properly. By not doing this, there might be unintended results where the fonts in your design are replaced by system default fonts.

Tips for Creating the Perfect Gang Sheet
- Leave Space Between Designs: Make sure there’s enough room between designs for easy cutting. A quarter-of-an-inch is the minimum recommended amount of space.
- Group Similar Colors: If you are working with multicolor designs, try grouping similar colors together to make the printing process more efficient.
- Double Check Dimensions: Ensure your designs fit the gang sheet size by using our Gang Sheet Finder. Simply enter your sheet and design dimensions, and the tool will calculate the optimal layout, showing you approximately how many designs will fit. This will help you with starting towards making the most of your gang sheet.
- Test Print: If possible, do a test print of your design(s) to ensure that everything looks good before uploading for final production. We also recommend printing them at their final intended sizes and doing mock sizing on your garments to see if you are pleased with the results.
Watch our video on How to Create a Gang DTF Heat Transfer Sheet in Canva here!