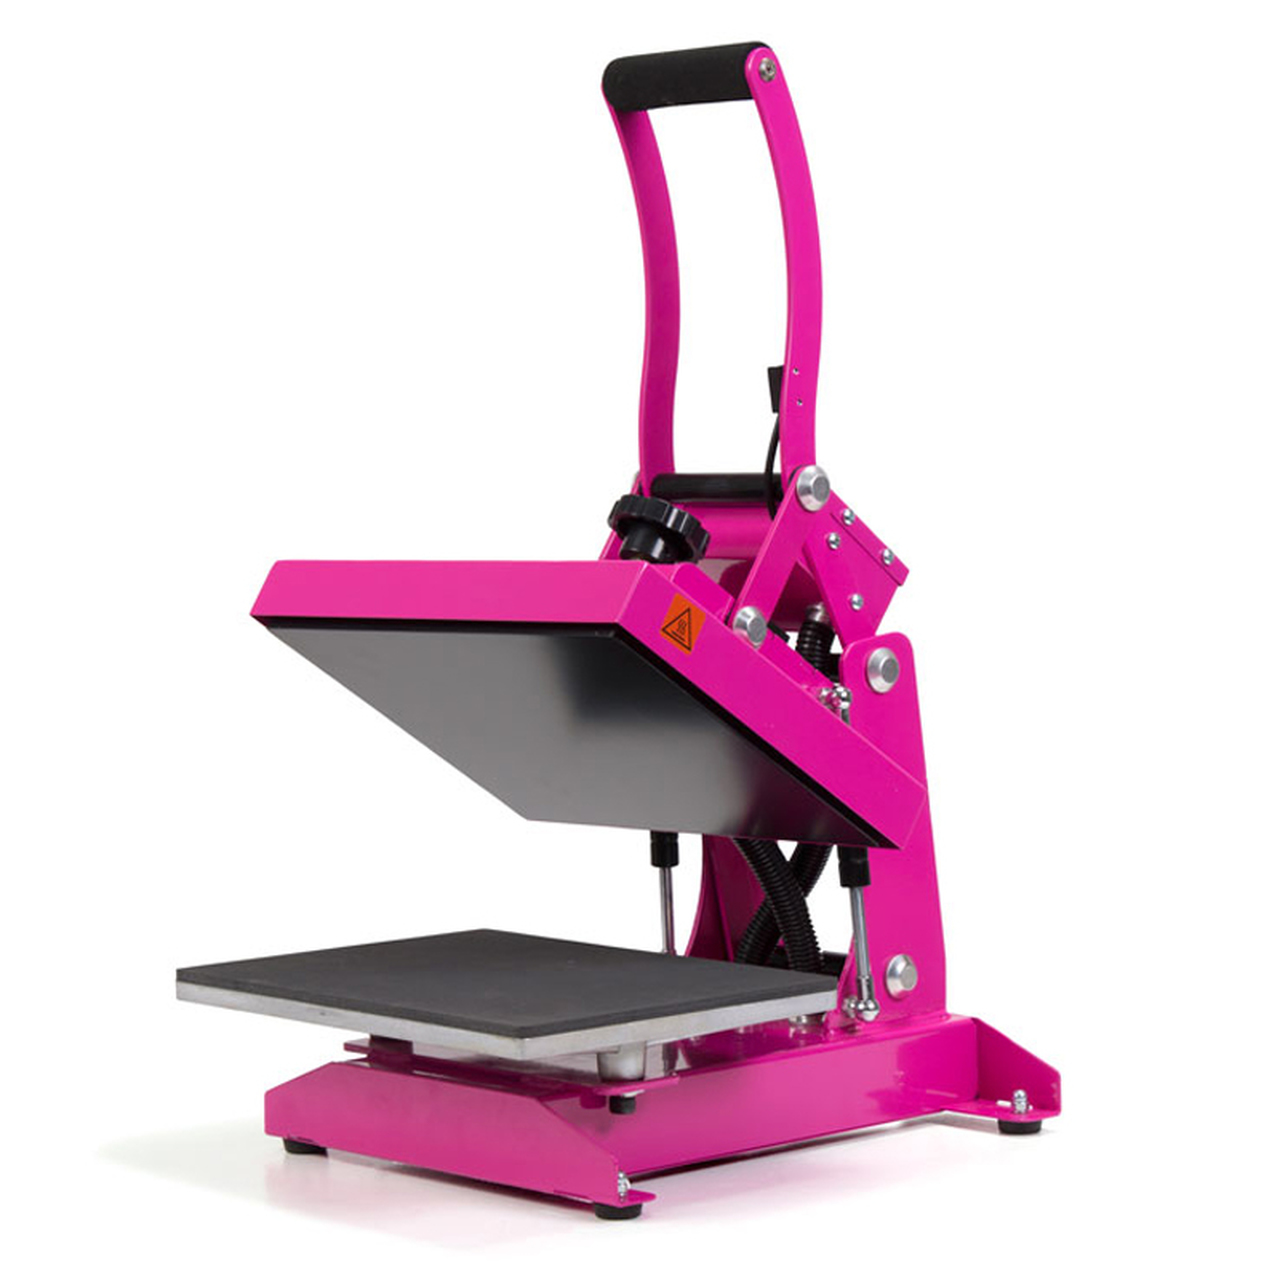
Heat Transfer Warehouse has recently added a craft presses to our website that comes in at one of the lowest prices of any of the heat presses we offer. However, we wanted to give it a test and let you guys know our thoughts before you buy! So here it is!
Name: Craft Heat Press
Brand: Hotronix
Price: $295
Platen Size: 9” X 12”

Pros:
-This press comes with a one year full warranty.
-It has a digital time and temperature read out right on the press. We offer some other smaller presses that come with a separate timer and don’t tell you the exact temperature that it’s at so that feature is awesome on this.
-It’s LIGHT! Seriously, I can carry it around the warehouse here no problem. It’s small enough that you can easily put it in your vehicle if you are traveling to an event, show or anything else!
-The platen size is perfect for most simple designs. Now, if you’re doing huge designs this obviously isn’t the press for you but especially for you beginners, it’s all you need!
-We have done some pressing with this on our fb lives and it offers you a very nice even heat, ensuring that you design is pressed correctly and will last longer compared to using a cheap press or hand iron.
-The price! For $295 you can assure that you are pressing with the correct temperature for the correct time.
Pro or Con depending on your preference:
-Yes, it is HOT PINK! I think the vibrant color is awesome however, to each their own.
Cons:
-Platen size if you are doing larger designs.
-No way to tell what your pressure is set at. There is the dial to adjust it, but you just have to go with how it feels and adjust from there. You can definitely tell when the pressure is firm and light there is just no number to it like the more expensive presses have.
We hope you found this review hopeful if you are thinking about purchasing a heat press or are in need of a new one!
To purchase your heat press click How to Do an EasyWeed Heat Transfer Application with 2 Colors
Step 1: Load the Reverse Image Cut-Ready Artwork into the Cutting Software
Step 2: Load the Vinyl Into the Cutter
Tip – Make sure the liner side is face down when you load it into the cutter
Step 3: Send the Artwork to the Cutter
Step 4: Weed Away Excess Vinyl from the Cut Out Design
Tip – Always start from the outside and work your way in
Tip – Make sure the smaller pieces of your design don’t get torn away when you take off the extra vinyl
Step 5: Place Artwork on Garment and Press
Tip – If pressing one color, press for 15 seconds at 315 degrees Fahrenheit
Tip – If pressing two colors, Press first color for 7 seconds
Tip – Make sure it’s centered before pressing
Step 5.2: Place Second Color on Garment and Press (Optional)
Tip – Press second color for 10-15 seconds at 315 degrees Fahrenheit
Tip – Double check the alignment before pressing again
Step 6: Peel Away Clear Plastic Layer
Tip – Can peel away hot or cold
Share some of your creations with us on Facebook, Instagram, Pinterest, or Twitter
For more instructions visit our HTW YouTube Channel.

