Supacolor transfers are a GAME CHANGER in the custom transfer business. They have been wash tested to last 70+ washes and will take any project to the next level. If you are just starting out with Supacolor, you may have some questions about the design process. In this blog we will go over some tips on how to set up your design files to get the most out of your Supacolor transfers.
Acceptable File Types:
Do:
- Save as an eps file as that is the most universal
- Or save as a PDF and make sure you check "Preserve Illustrator Editing Capabilities" if working in Adobe Illustrator
- Or save as an svg (scalable vector graphic)
Don’t:
- Do not submit a .jpg file
Vector vs Raster:
Do:
- Use vector for the best quality & no background
- Use raster for anything that’s like a photograph
Don’t:
- Don’t upload the same image with different shadows, effects, or flipped images.

Vector Image with no pixilation
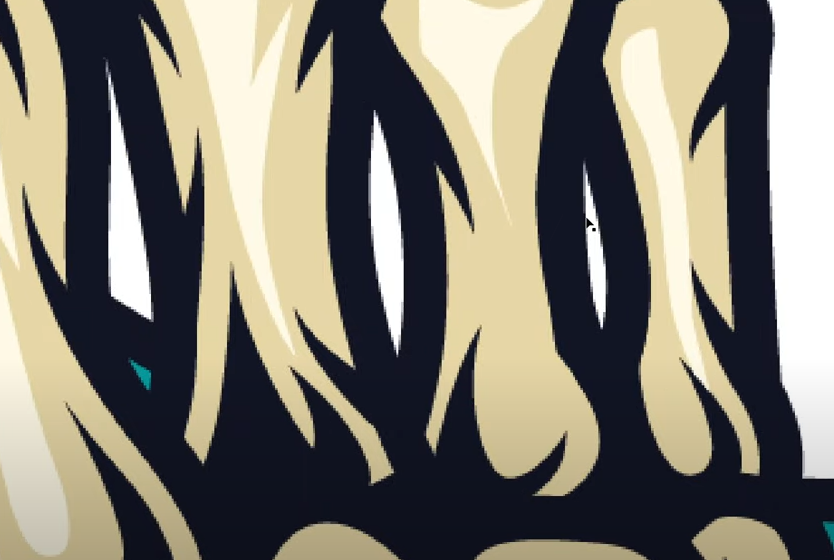
Raster Image with pixilation
.png vs .jpg
Do:
- Submit with no background for Supacolor transfers (this would be a png).
Don’t:
- Don't submit a .jpg as it will apply a background to your design which you don’t want
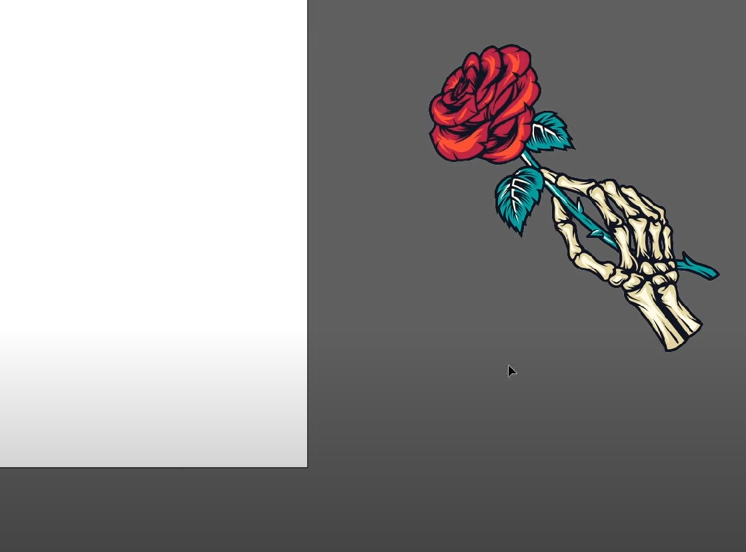
Image Resolution:
Do:
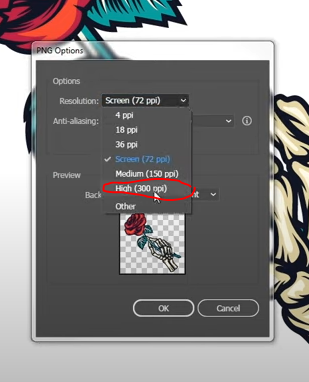
- Save it as a high resolution of at least 300 ppi for printing
Don’t:
- Do not save it as low resolution if printing image
Drop Shadows and Glows
Do:
- Remove drop shadow and/ or glows
- Make sure you have crisp lines to run properly
Don’t:
- Don’t submit image with drop shadow and/ or glows
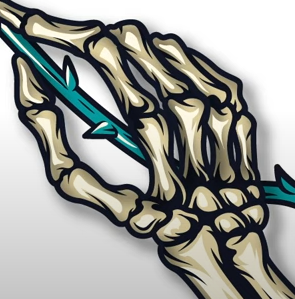
Drop Shadow Example
Transfer Sizing
Do:
- Understand the size of your design such as proportions
- Tell us your preferred size and we’ll do the rest
Don’t:
- Don’t have the size disproportionate
- Don’t over size your image
CMYK vs RGB
Do:
- Design in CMYK
- Set color mode to CMYK
Don’t:
- Don’t design in RGB as the colors will appear much duller after printing
You can order your custom Supacolor transfers here. For more information about designing artwork for Supacolor, check out our helpful video "How to Prepare Artwork for Supacolor Heat Transfers"

