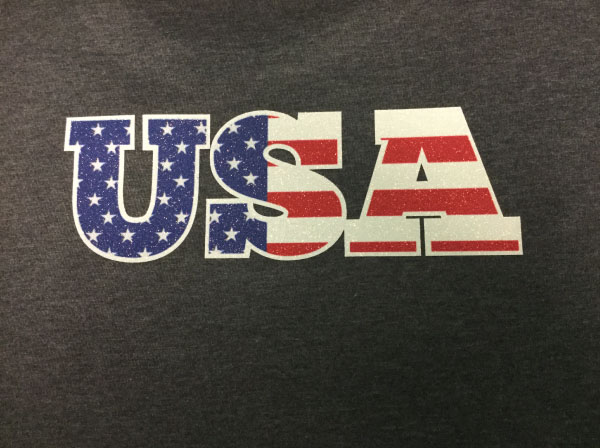
Dye sublimation is a great option for those who are seeking high quality photographic results. Feel free to make your artwork as complicated as you want, because there are endless possibilities when using dye sublimation! In fact, did you know that it is possible to sublimate onto our HTV Textured Glitter? You can use any polyester or polymer-coated substrates with dye sublimation... and that’s why HTV Textured Glitter works!
What Will You Need?
If you’re still unsure of where to start, check out our sublimation printers.
- Cutter
- Heat press
- Teflon sheet
- Thermo tape
- Scissors/weeding tool
- Dye sublimation printer
- Sublimation ink/toners
- Kraft Paper
- White Siser Glitter
- White Glitterflex Ultra

Step 1)
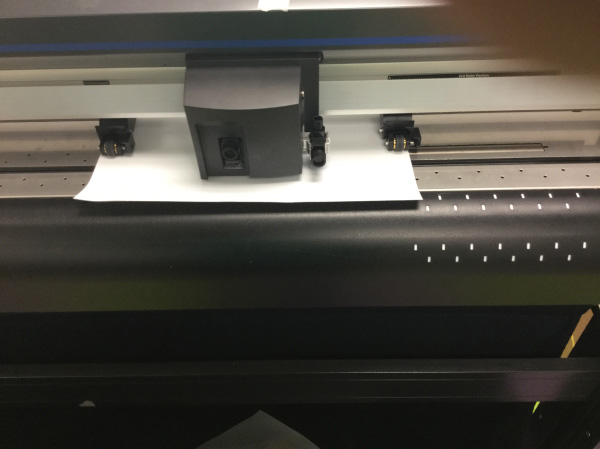
First print your dye sublimation design (with a dye sublimation printer) and cut your glitter design.
Step 2)
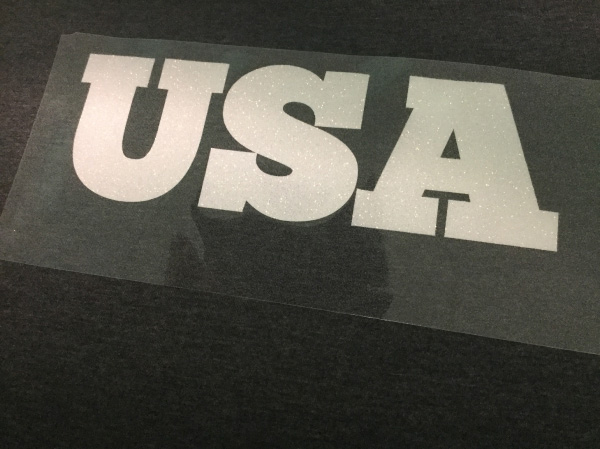
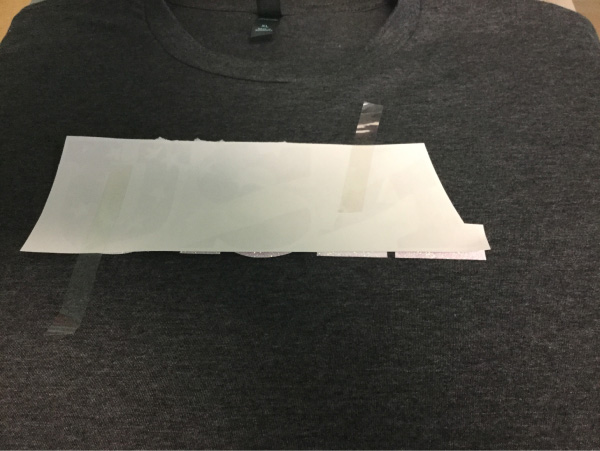
As you normally would with Textured Glitter HTV, cut away any excess material and weed your design. Position your glitter on your blank. With this example, we used Thermo tape to hold the transfer to the hat.

Step 3)
You now need to tack down your glitter design onto your garment. To do so, press your glitter at 330 degrees (F) for about 3 seconds and peel hot. You don’t need to press the glitter for the full recommended time, because you will be re-pressing it.

Step 4)
Next, place your dye sublimation design face down on top of the glitter. We recommend using thermo tape to help keep the dye sublimation design in place.

Step 5)
You will want to turn your heat press up to 400 degrees (F) and press your design for 35-40 seconds. Place a piece of Kraft paper over the transfer to prevent stains to the heat press or Teflon cover.

Step 6)
Peel the dye sublimation design paper off (peel HOT) and you’re done!!!
For more information, check out this video!

