There are many options when it comes to HTV. Not only are there basic colors, but there are also fun vinyl options like metallic, glitter, patterned, and many more. The Siser brand offers many options for these types of HTV, including multiple glitter choices! Today we are going to talk about the classic Siser Glitter HTV and how you can cut this at home using your Cricut cutter.
Design Steps:
First, open the Cricut Design Space. In there, you will upload your design to your canvas like this.

Once it is uploaded, it will appear in your design space like so. If you have letters or words as part of your design, you will want to attach the design in the bottom right corner so it will cut as one entire design.
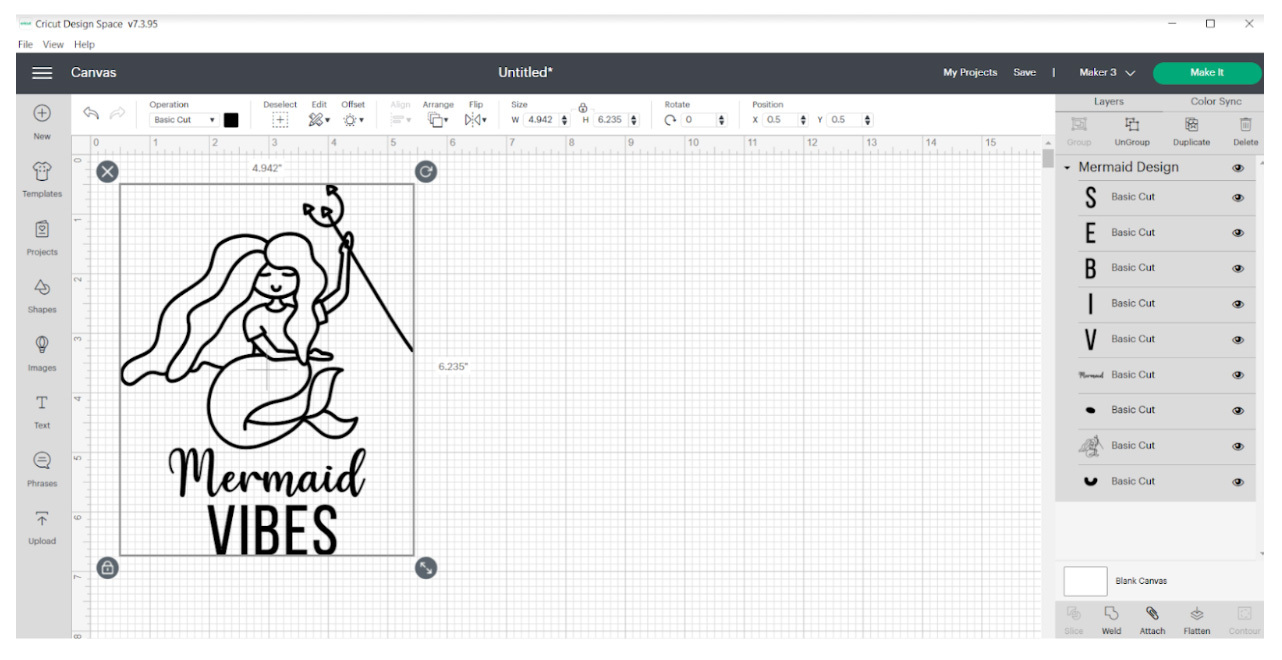
After your design is attached, you can resize it to the correct dimensions you need. When it is how you want it, you will click the green button in the top right that says “Make It” and it will be sent to your cutter. This screen will then appear.
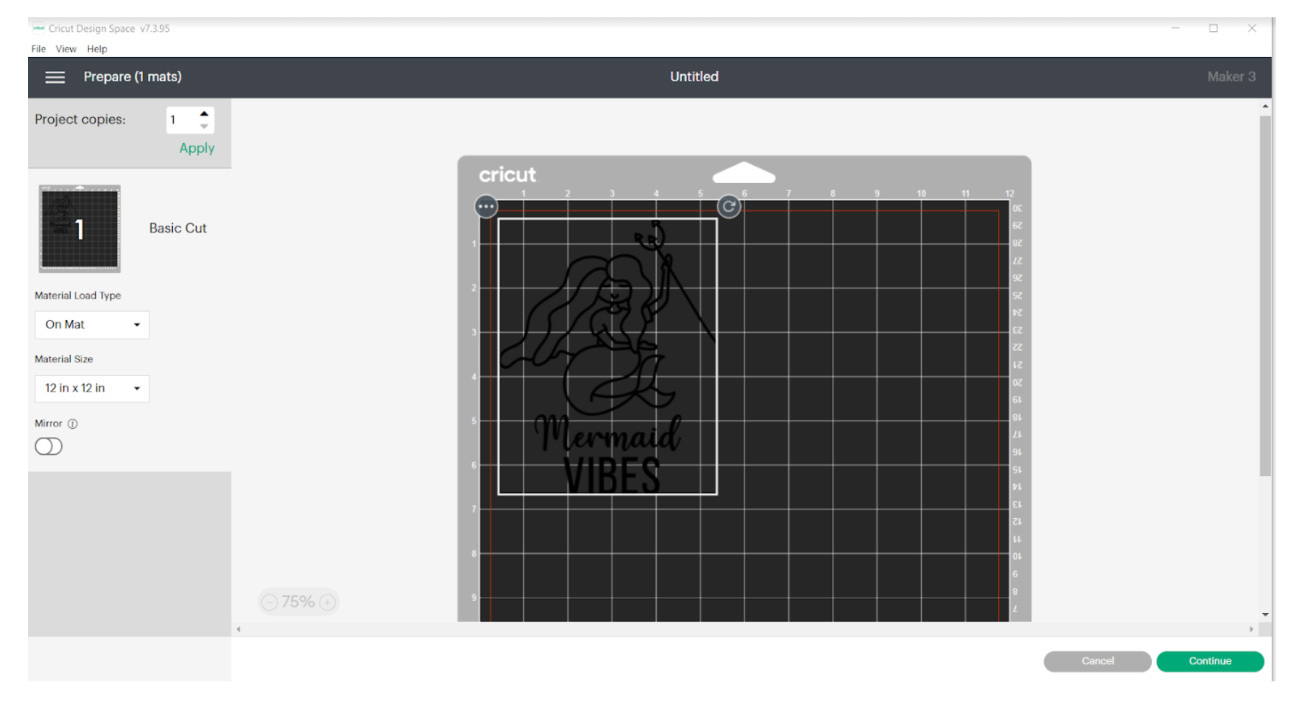
Since we are using Siser Glitter HTV, we will need to mirror our design. Don’t forget this step, otherwise your vinyl will cut backwards! When you have placed your design where you want on the mat, and triple checked that it is mirrored, you can press the green continue button in the bottom right. Then this screen will pop up.

For Siser Glitter, we selected the “Everyday Iron-On” material as our base material. Make sure your Cricut Maker is plugged in, and after you have selected your base material, it should automatically read the tools. From there you will get your Cricut cutter ready to cut and will then press play!

Cutting Steps:
You will load your HTV onto your Cricut mat with the vinyl side facing up. The shinier side is the liner for most vinyl, and that side should be down. Then you will place the Cricut mat into the Cricut cutter, with each edge of the mat under the wheels.
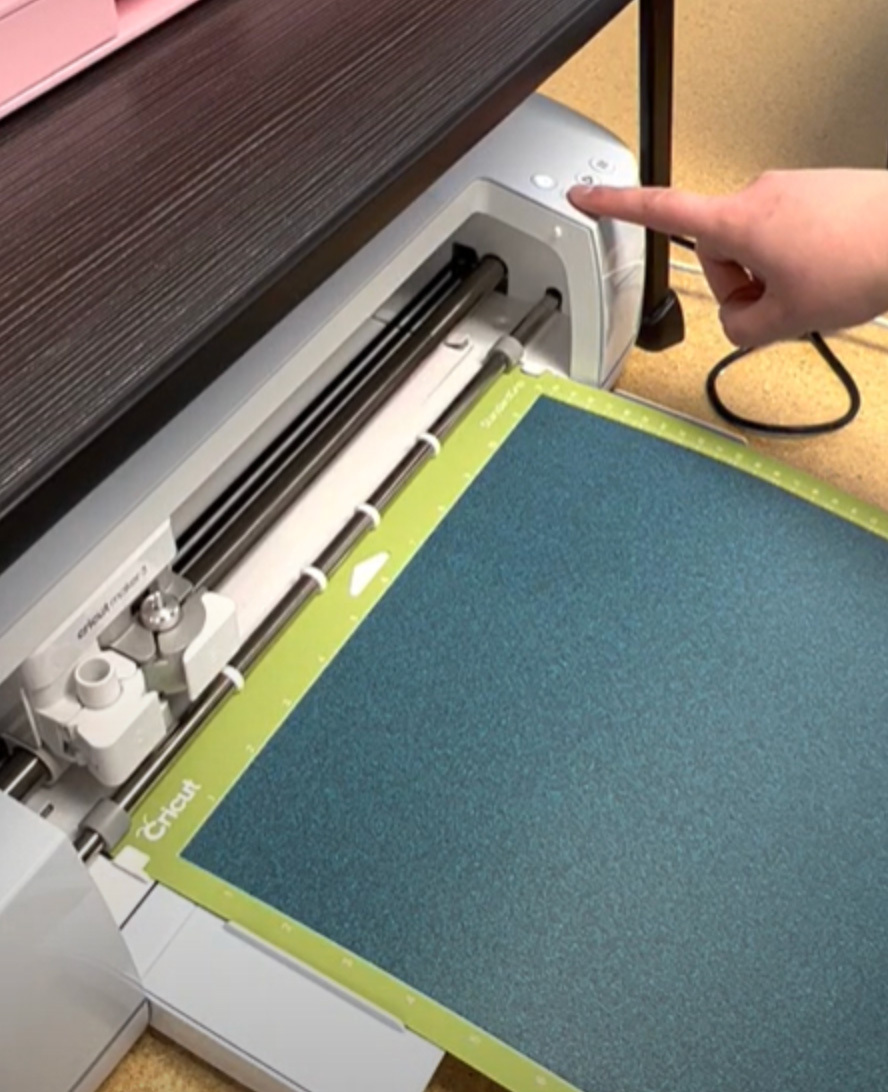
Next you will press the arrow button that is blinking so the Cricut cutter can read your material. After your Cricut machine reads the material, the play button will start flashing. Click that and your Cricut will start cutting! Once it is done cutting, you will click the arrow button one more time to remove the mat from the machine. Then, you can weed your design!
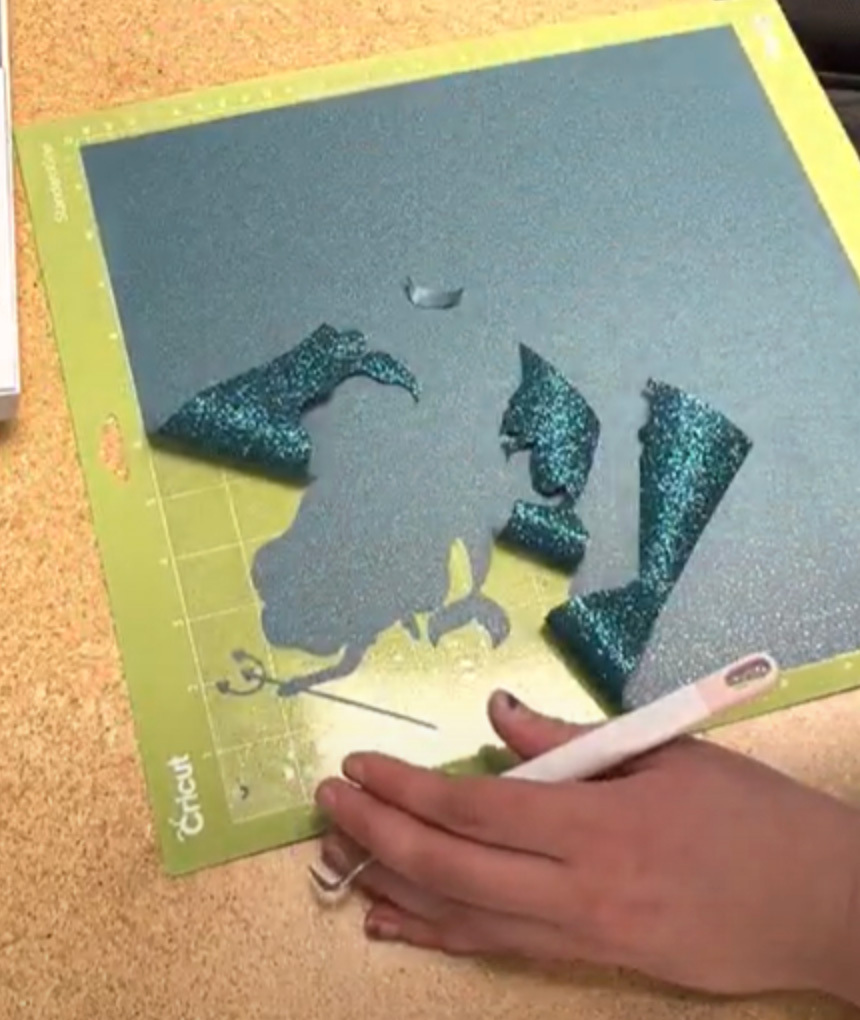
After you are done weeding the design, you can press it to your garment! We pressed this glitter using the application instructions on our website so 320 F for 15 seconds using our WALAPress Pro Auto-Open 16x20 heat press.
WALAPress Pro Auto-Open 16x20 heat press.

There are many types of Siser Glitter HTV that we offer. Another great option for projects, especially ones that require layering, we recommend Siser Sparkle. Here is a video tutorial for using Siser Sparkle!

